DIY Henna How-To
3 Comments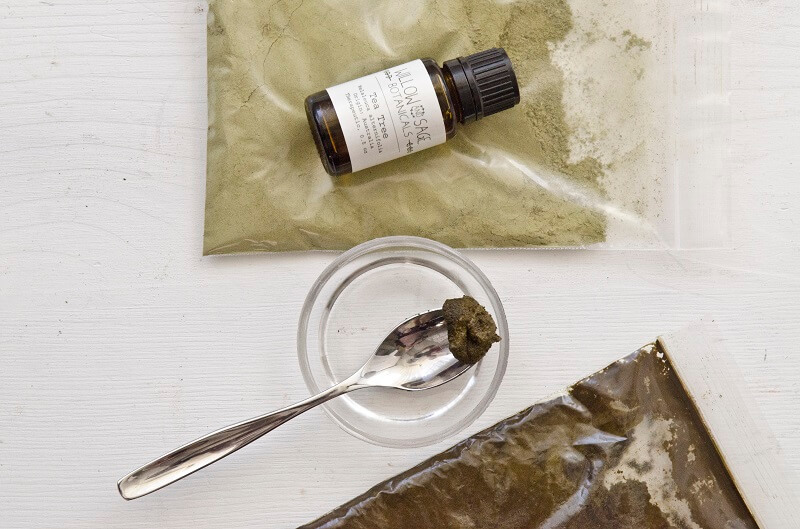
Learn how to create your own gorgeous henna tattoos using all-natural ingredients.
Using henna is an amazing way to create beautiful, temporary tattoos. Whether it’s for artistic exploration, self-expression, or celebration, henna tattoos are both fun to apply and beautiful to look at.
What is Henna?
Henna paste is made from the dried and ground leaves of the henna plant. People have been using henna as a natural dye as far back as Ancient Egypt.
Why is DIY better than store bought?
Most professional henna artists do not recommend using store bought henna cones. Real henna paste is perishable, it needs to be prepared and used right away or it will go bad. This means that in order to sell it in cones with indefinite shelf lives, preservatives have to be added. Additionally, because henna loses its staining power over time, synthetic dyes have to be added in order to give color payoff.
Making fresh henna paste is easy, and will prevent you from having to put preservatives and synthetic dyes on your skin. Not to mention, your finished product will look way better.
Step-by-Step Henna Tutorial
You Will Need:
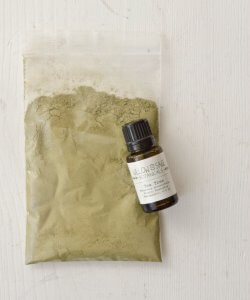
• 1/4 cup Henna Powder
• 1/4 cup Lemon Juice
• 1/2 tsp Sugar
• 1 1/2 tsp Tea Tree Essential Oil (Fun fact: terpenes, a chemical compound found in this essential oil, among a few others, improves the staining power of henna.)
How to Use:
1. Sift the henna powder to ensure there are no lumps.
2. Mix the henna powder with lemon juice, stirring until it is a smooth paste.
3. Add the sugar and the tea tree oil to the mixture.
4. Cover the mixture and let it rest at room temperature for at least 24 hours. This allows the dye to release from the powder.
5. Once your paste is ready, start with exfoliated, clean skin. Don’t apply any lotion or product to the skin beforehand.
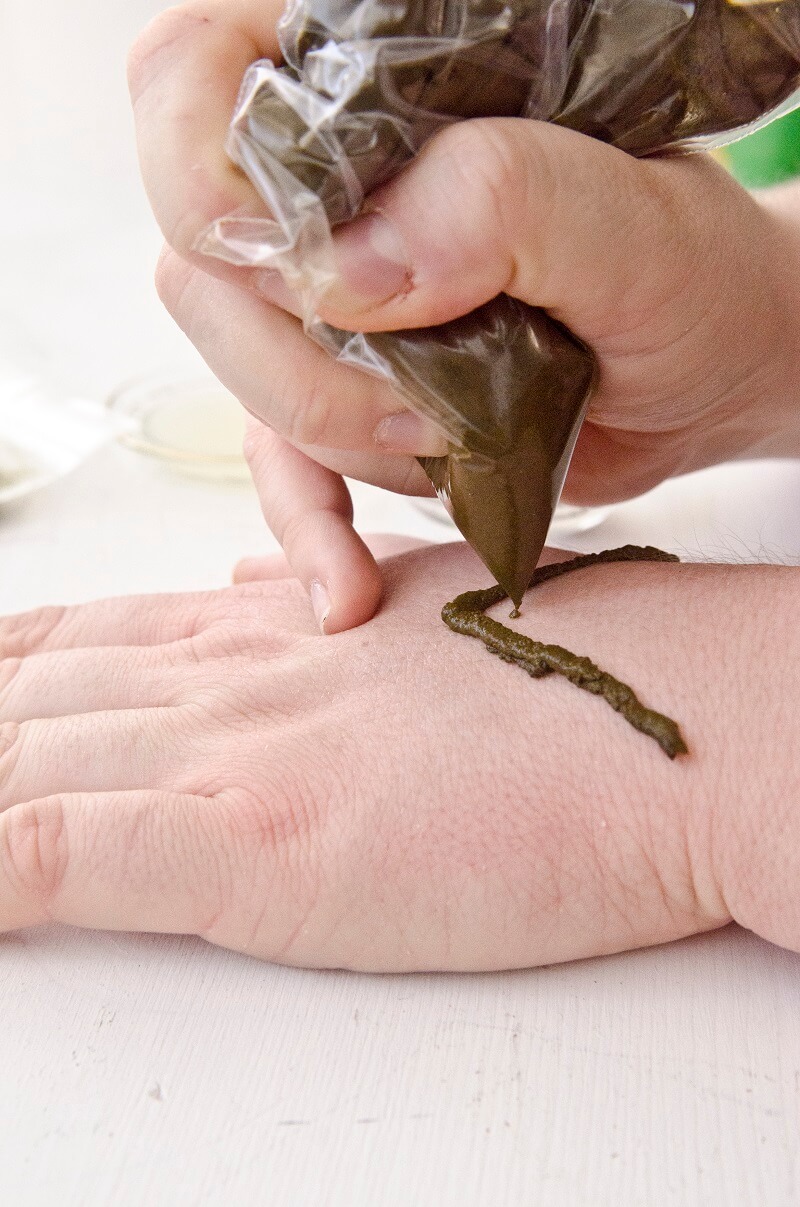
6. Use a piping bag or a jacquard bottle to apply your designs. Toothpicks can also be used to help create very intricate patterns if desired.
7. Let your design dry for one hour at the very minimum. The longer you let it sit, the more vivid your design will be. Six or more hours is recommended.
8. Gently dab off the hardened henna with water to reveal your beautiful design!
9. Keep the tattoo area dry for at least 12 hours after application. Avoid applying lotion, as this can erase your design.
Want to give it a try? You can find everything you need to make your own henna inside our DIY Henna Kit: https://stampington.com/DIY-Henna-Kit
NOTE: Always test a small area of your skin first, to check for sensitivity. Please avoid contact with eyes and approach all oils with extreme caution if you have any skin allergies. Please seek professional advice prior to using essential oils while pregnant or nursing.

This post has been crafted by the Willow and Sage Team. To learn more, please visit our Who We Are page.


Give a Gift • Subscribe • Renew

Who We Are
Welcome to flourish, a haven for all things homemade bath and body.
By reading flourish, you’re not just taking care of your skin. You’re discovering the importance of loving your skin, and everything in-between. flourish is more than just a blog. It’s our way of encouraging everyone to thrive in a healthy and vigorous way – to empower wellness in all aspects of your day-to-day life.


Is there a good substitute for the lemon juice in this recipe? My husband is allergic to lemons. Thank you
Hi Natalie,
You could try using hot water in place of the lemon juice. Please note that this may make the paste slightly darker without the acidity from the lemon juice which sometimes gives it a brighter more reddish hue.
Best,
Jordan
The Willow and Sage Team