Soap Making 101: Cold Process and Melt-and-Pour
0 Comments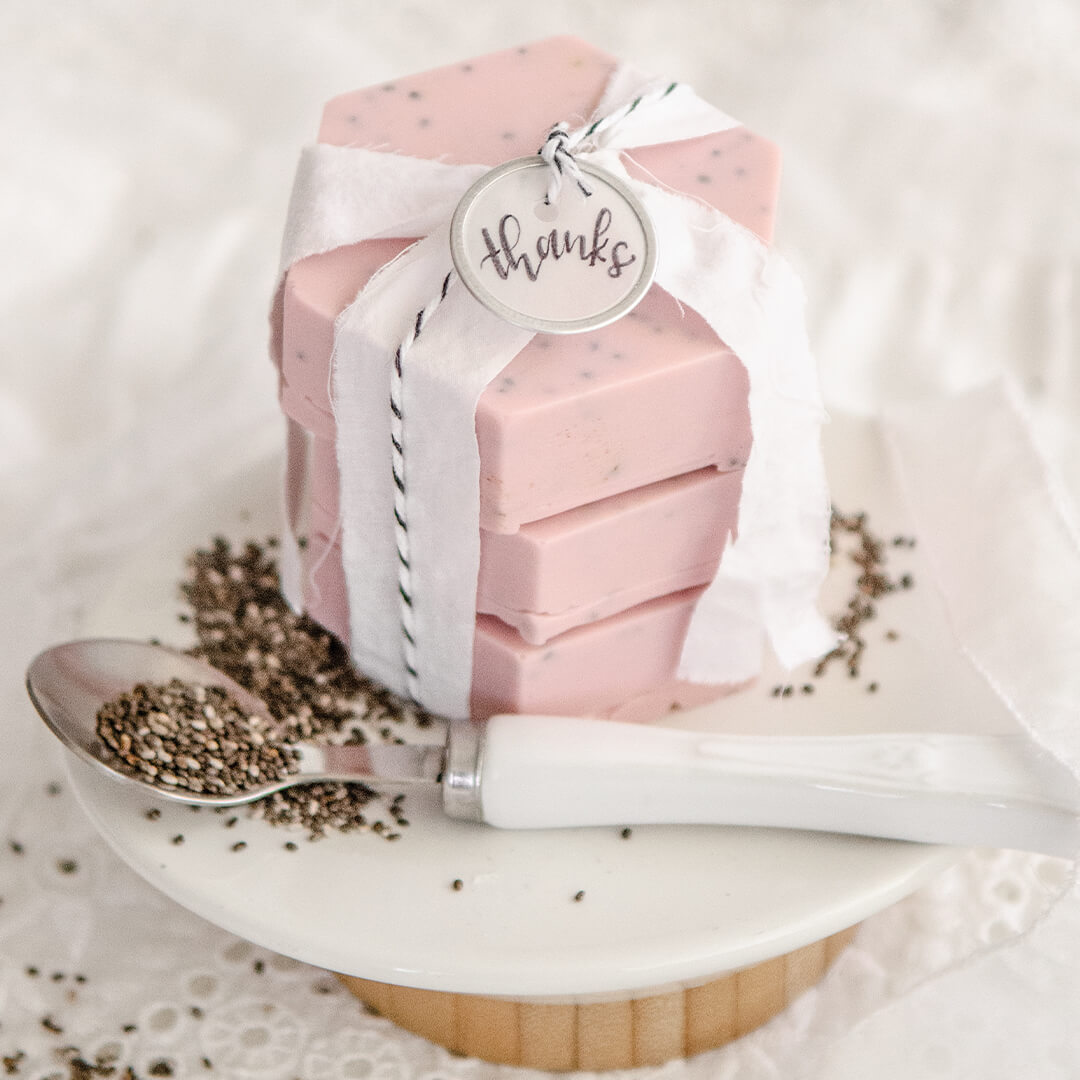
Soap making is a creative and satisfying craft that has been around for centuries. Whether you’re a seasoned soap maker or a curious beginner, you’ve likely encountered the two most popular methods: cold process and melt-and-pour. Both approaches have their unique characteristics and offer distinct advantages and disadvantages. Read on to explore the differences between these soap making methods.
Table of Contents
- • The Art and Science of Soap Making
- • Cold Process Soap Making
- • Melt-and-Pour Soap Making
- • The Pros and Cons of Cold Process vs. Melt-and-Pour
- • Beyond the Basics
The Art and Science of Soap Making
Soap is a chemical compound formed when oils or fats (which contain triglycerides) react with an alkali (usually potassium hydroxide for liquid soap and sodium hydroxide for solid soap). The soap molecules resulting from the chemical reaction (saponification) have a polar “head” attracted to water and a nonpolar “tail” attracted to oils and fats. This unique structure allows soap to work as a surfactant, facilitating the removal of dirt, grease, and oils from surfaces.
The Basics of Soap Making
Soap making is essentially the process of mixing the necessary ingredients to initiate the saponification chemical reaction process, and this is where the two main methods differ:
- ● Cold Process Soap Making: This method is more involved and allows complete control over the soap’s ingredients and design. It’s making soap from scratch by mixing lye and oils to create a unique recipe. Before being ready for use, cold process soap needs a 4-6 week cure to harden and mellow out to a lovely lather.
- ● Melt-and-Pour Soap Making: Melt-and-pour is a beginner-friendly approach that involves melting pre-made soap bases and adding your own fragrances, colors, and other additives. The soap base is usually made using the cold process method but is ready to use as soon as it cools and hardens.
Let’s explore both methods in more detail, starting with cold process soap making.
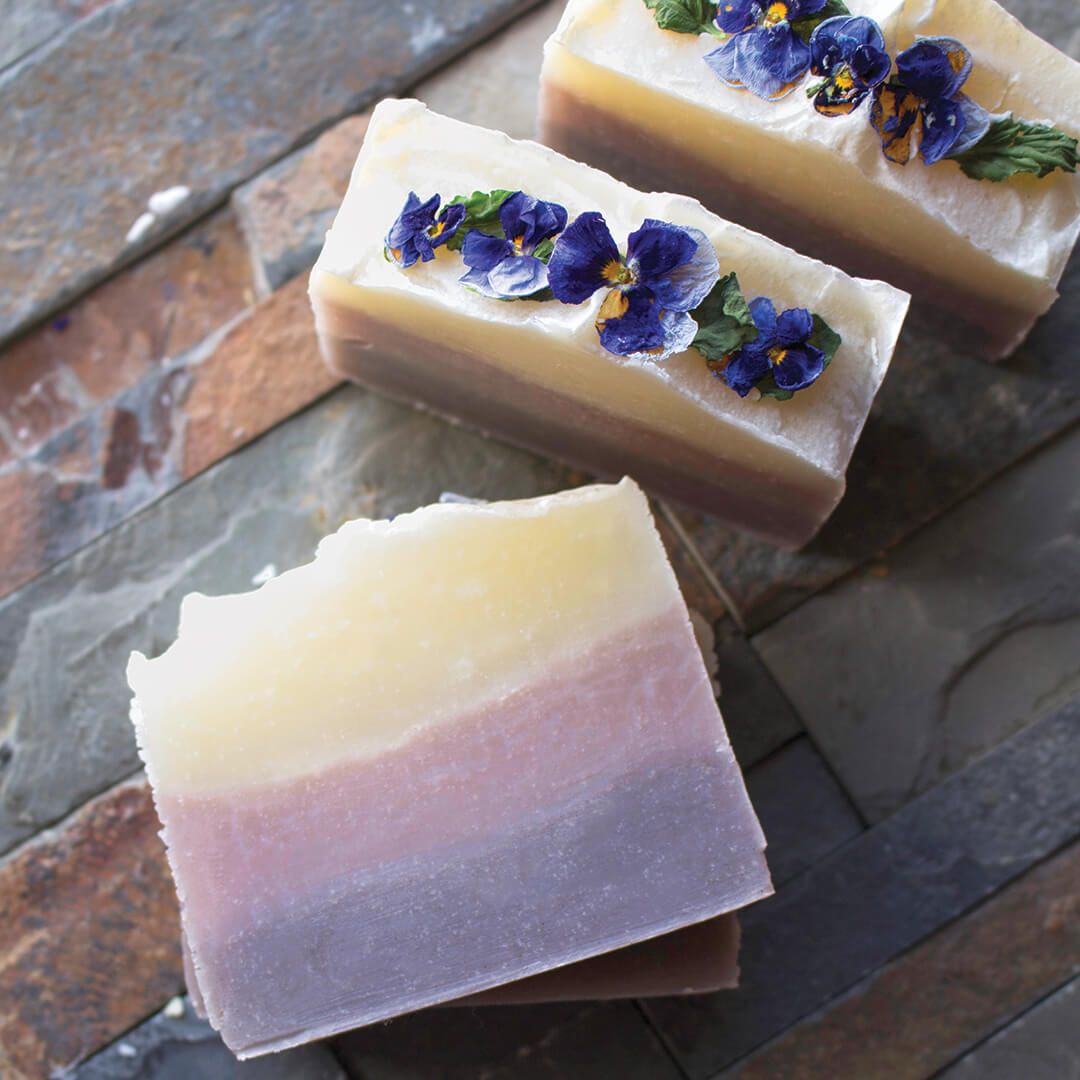
Photo Credit: Jan Berry
Cold Process Soap Making
Cold process soap making is a traditional method of creating soap from scratch using oils, water, and lye (sodium hydroxide). This technique is named “cold process” because it doesn’t require external heat to saponify (turn into soap) the ingredients, as opposed to the hot process or melt-and-pour methods.
Ingredients
- 1. Lye (Sodium Hydroxide): This caustic substance is essential for saponification.
- 2. Fats and Oils: You can use a combination of various oils and fats like olive oil, coconut oil, sweet almond oil, and shea butter. Each oil contributes to the soap’s texture and properties.
- 3. Water: Water serves to dissolve the lye and create the lye solution. Distilled water is the most common, but you can experiment with other liquids like milk or herbal infusions.
- 4. Fragrance or Essential Oils: These will add scent to your soap.
- 5. Additives: Adding herbs, clays, exfoliants, or colorants will help with texture and appearance.
Want unique cold process soap recipes to perk up your senses? Check out our Willow And Sage magazine, filled with over 70 recipes, uses, and beautiful packaging ideas for homemade bath and body products.
Steps for Making Cold Process Soap
- 1. Measure Ingredients: Weigh your fats and oils, water, and lye accurately with a scale. Following your chosen soap recipe with precision is crucial, as different oils have different saponification values.
- 2. Mix Lye and Water: Slowly add the lye to the water while stirring. Never add water to lye, as this can cause a dangerous reaction. This mixture will heat up and release fumes, so be cautious.
- 3. Melt Oils: Gently heat the oils until they are completely liquid. Keep an eye on the temperature with a thermometer.
- 4. Combine Lye and Oils: When the lye solution and oils are around 100-110°F (37-43°C), pour the lye solution into the oils. Use a stick blender to mix them until they reach “trace,” which means the mixture thickens and becomes slightly opaque.
- 5. Add Fragrance and Additives: Stir in your fragrance oils, colorants, and other additives, if any.
- 6. Pour into Molds: Carefully pour the soap mixture into your soap mold. You can use various shapes and sizes of molds to create unique soap designs.
- 7. Insulate: Use a towel or blanket to cover the molds to keep the heat in. Let the soap sit for 24-48 hours to saponify and harden. Afterward, remove the soap from the molds and cut it into bars if necessary.
- 8. Cure: Place the cut soap bars on a drying rack and allow them to cure for 4-6 weeks. This curing process ensures that excess water or lye evaporates, leaving you with a milder, firmer, and longer-lasting soap.
Tips for Cold Process Soap Making
- ● For your first batch, begin with a simple recipe and gradually experiment with different additives, fragrances, and oils.
- ● The curing process is crucial for soap quality, so be patient.
- ● Record your recipes and results with a soap making journal for future reference.
Learn how to make cold-process soaps with detailed instructions and ingredient lists in Willow And Sage. Click here.
Melt-and-Pour Soap Making
Melt-and-pour soap making is an excellent option for beginners, those who want to create soap without the time-consuming curing process, or for quickly making small, customized batches.
Ingredients
- 1. Soap Base: There’s a variety of soap bases, including white, clear, shea butter, glycerin, and more. These pre-saponified bases are ready for customization.
- 2. Fragrance or Essential Oils: These will add scent to your soap.
- 3. Additives: Some common additives are herbs, exfoliants, colorants, and clays.
Steps for Making Melt-and-Pour Soap
- 1. Cut Soap Base: Cut your soap base into small, uniform chunks. It’ll melt more evenly as a result.
- 2. Melt the Soap Base: You can melt the soap base with a double boiler or a microwave. If using a double boiler, place the soap chunks in the top pan and heat gently over simmering water. If using a microwave, heat them in intervals lasting 20-30 seconds, stirring in between to ensure even melting.
- 3. Add Fragrance and Additives: Once you completely melted the soap base, stir in your fragrance oils, colorants, and other additives.
- 4. Pour into Molds: With care, pour the soap mixture into your molds. You can create eye-catching soap designs using various shapes and sizes.
- 5. Cool and Harden: Let the soap sit for about 1-2 hours or until it’s cooled and hardened fully.
Tips for Melt-and-Pour Soap Making
- ● Experiment with different soap bases to achieve the texture and properties you desire.
- ● Be creative with your designs and colors by adding various additives.
- ● Melt-and-pour soap is an excellent option for making gifts or small batches for personal use.
If you’re looking for simple melt-and-pour soap recipes, peek inside the latest issue of Willow And Sage, and you’ll find countless options for you to choose from.
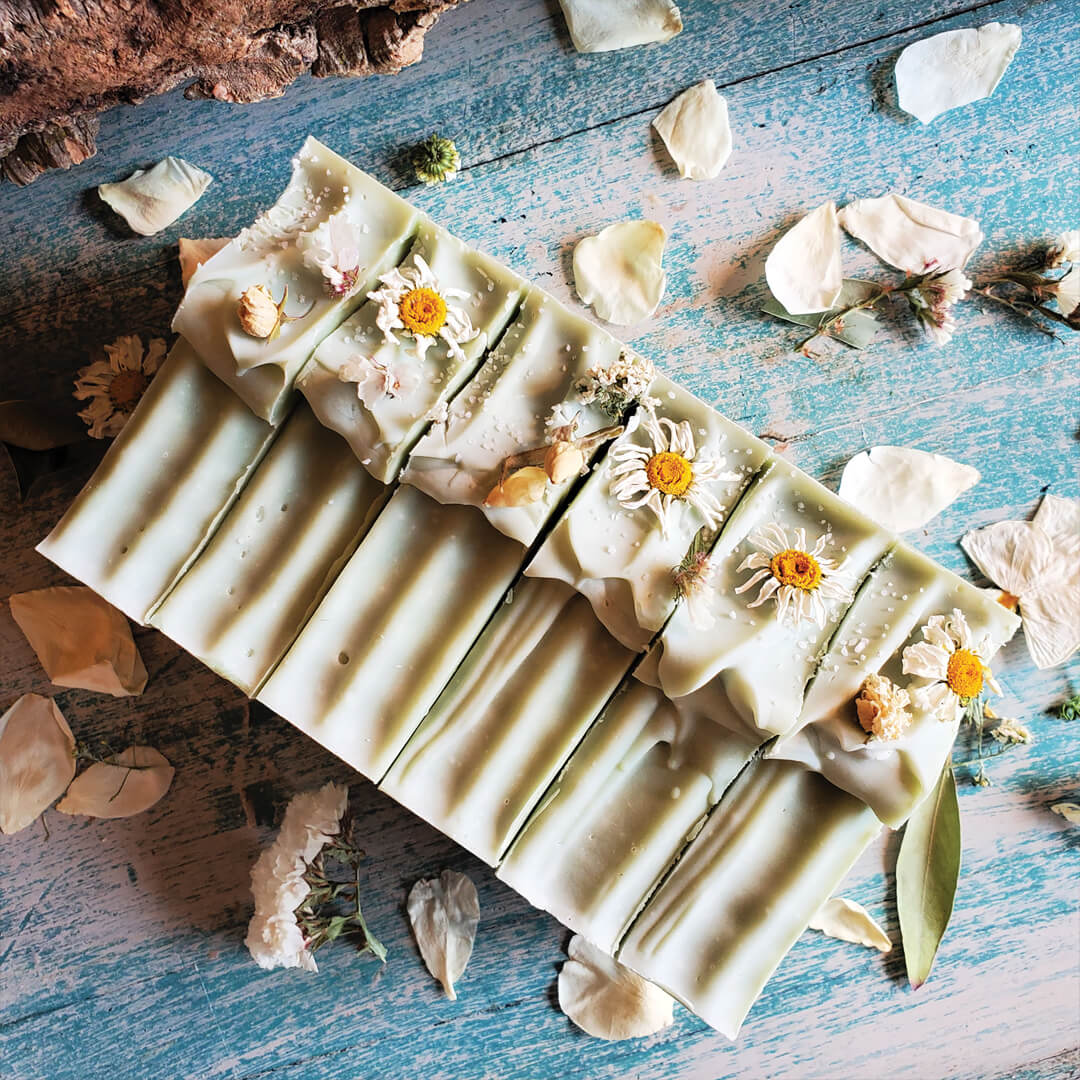
Photo Credit: Christine De La Torre
The Pros and Cons of Cold Process vs. Melt-and-Pour
Cold Process Soap Making
Advantages
- ● Customization: You have complete control over ingredients, fragrances, and additives, allowing you to create unique soap recipes.
- ● Artistic Freedom: Cold process soap making offers endless creative possibilities, from swirls and layers to intricate designs.
- ● Cost-Effectiveness: In the long run, making your own soap can be more cost-effective, especially when buying ingredients in bulk.
- ● Quality and Sustainability: Cold process soap can result in high-quality, long-lasting bars. You can also choose eco-friendly and sustainable ingredients.
Limitations
- ● Curing Time: The 4-to-6-week curing period for cold process soap making demands patience.
- ● Safety Concerns: Working with lye can be dangerous, so you must take extra precautions.
- ● Complexity: The process can be intricate, and beginner soap makers might find it challenging to create perfect bars at first.
Melt-and-Pour Soap Making
Advantages
- ● Simplicity: Melt-and-pour is the ideal choice for beginners, as it’s simple and doesn’t involve working with lye.
- ● No Curing Time: There’s no need to wait for your soap to cure; you can use it immediately after it cools and hardens. So it’s also a good option for last-minute projects.
- ● Customization: You can still customize your soap by adding fragrances, colors, and other additives.
Limitations
- ● Limited Ingredient Control: You can’t create your soap base from scratch, limiting your control over its properties.
- ● Artistic Limitations: While you can create beautiful designs with melt-and-pour, you won’t have the same flexibility as cold process soap making.
- ● Shorter Shelf Life: Melt-and-pour soap may not have as long a shelf life as fully cured cold process soap.
Photo Credit: Cassandra Heist
Beyond the Basics
Don’t worry if you’ve mastered the fundamentals. There are still many advanced techniques and methods left for you to explore. Here are a few examples:
- ● Hot Process Soap Making: This method accelerates the saponification chemical reaction process by applying heat, reducing the curing time to a few days. It’s a compromise between cold process and melt-and-pour.
- ● Swirling and Layering: Try creating intricate designs, swirls, and layers in your cold process soap with different colors and additives.
- ● Soap Sculpting: For the artistically inclined, try soap sculpting to craft unique and intricate soap designs.
- ● Soap Embeds: Create small soap shapes or designs within larger soap bars for an added surprise and decorative element.
- ● Liquid Soap: Use the cold process technique to make your own liquid soap from scratch.
- ● Eco-Friendly and Natural Soaps: Dive into creating natural and eco-friendly soaps using organic ingredients and sustainable packaging.
- ● Specialty Soaps: Explore making specialty soaps like shampoo bars, shaving soaps, and soap for specific skin conditions.
For more educational information and tips, explore the pages of our Willow And Sage magazine. Click here.


Give a Gift • Subscribe • Renew
Who We Are
Welcome to flourish, a haven for all things homemade bath and body.
By reading flourish, you’re not just taking care of your skin. You’re discovering the importance of loving your skin, and everything in-between. flourish is more than just a blog. It’s our way of encouraging everyone to thrive in a healthy and vigorous way – to empower wellness in all aspects of your day-to-day life.


