3 Lavender Skin-Care Recipes We Love
0 Comments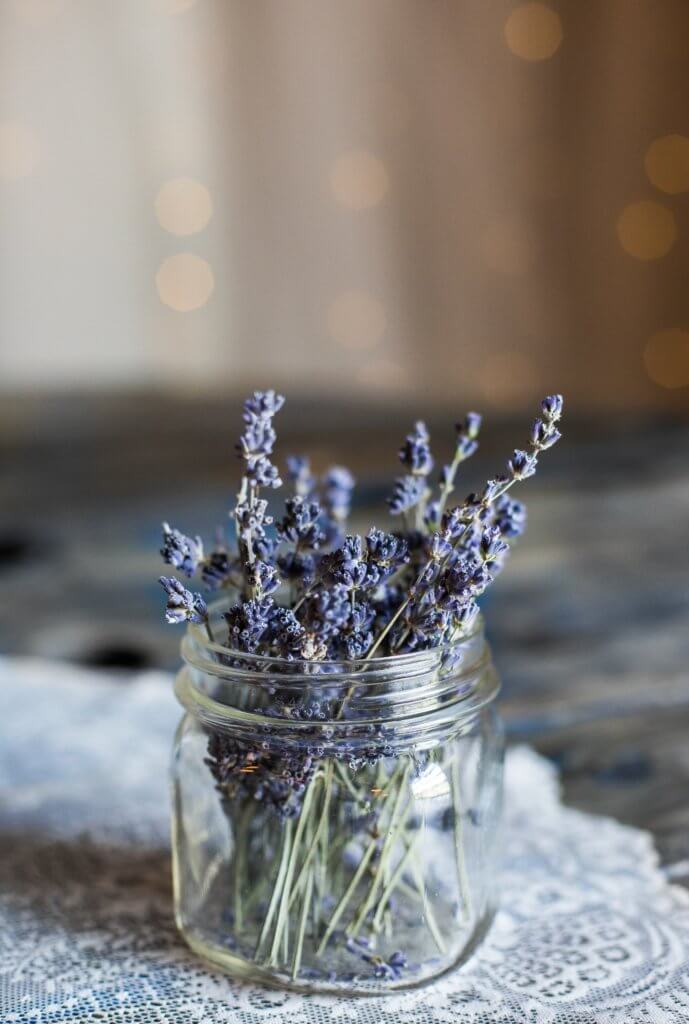
Photo Credit: Heather Ford
It’s no secret that we love lavender here at Willow and Sage. In fact, there’s lavender recipes in nearly every issue of our magazine! Below you’ll find a few of our favorites that will make delightful additions to your skin-care routine.
3 Lavender Skin-Care Recipes We Love
Moisturizing Lavender Salt Scrub
Recipe originally featured in Willow and Sage Autumn 2020
You Will Need:
YIELDS 8, 4-OZ. JARS
-Bowl: large
-3 cups Epsom salt/pink Himalayan salt/kosher salt
-⅓–½ cup sweet almond oil
-40 drops lavender essential oil
-Airtight glass jars
To Make:
In a large bowl, combine the salt and sweet almond oil until the salt has a wet consistency. Add the essential oil, and scoop the scrub into airtight jars. Let the mixture sit for a day if you prefer a less abrasive scrub.
Calming Lavender Bath Salts
Recipe originally featured in Willow and Sage Winter 2021
You Will Need:
YIELDS 6 CUPS
-Bowl: large
-4 cups Epsom salt
-2 cups coarse/medium Himalayan pink salt
-60 drops lavender essential oil
-½ cup dried lavender flowers (optional)
-Jars: ½-pint, latch-top (6)
-Printable labels
-Kraft cardstock
-Hole punch
-Twine
-Dried lavender sprigs
To Make:
In a large bowl, combine the Epsom salt and Himalayan pink salt. Sprinkle the lavender essential oil over the salt, and toss well to combine. Add the lavender flowers, if desired, and toss to incorporate. Divide the mixture into the ½-pint jars. Print the labels onto kraft cardstock, cut them out, and fold in half. Using a small hole punch, punch a hole in the corner, and attach to the jar using twine. Tie on one sprig of lavender, and gift to someone you love! To use, dissolve 1 cup of bath salts in a hot bath, and soak for at least 20 minutes.
Notes:
-Salt absorbs the moisture in the air, so these salts may begin to harden after a few weeks. Using an airtight jar like latch-top jars will help, but if they do end up hardening, use a fork to loosen the mixture.
-The lavender flowers will need to be rinsed off your body and the tub after using. If that extra step bothers you, you can leave them out.
-You can find the printable labels here: tinyurl.com/bath-salt-labels.
Lavender Vanilla Bath Bombs
Recipe originally featured in Willow and Sage Spring 2021
You Will Need:
YIELDS 6 CUPS
1 cup baking soda
½ cup citric acid
½ cup cornstarch
3 TB. Epsom salt
1 TB. coconut oil
Spray bottle w/ witch hazel
5–8 drops lavender essential oil
5–8 drops vanilla essential oil/1 tsp.
Bowls
Purple food coloring
Bath bomb molds
Rubber bands
To Make:
Mix all of the dry ingredients together. Add the coconut oil to the mixture until well combined. Spray the witch hazel on the mixture five times, mix together well, and spray another five times. Keep doing this until the mixture can hold itself together when you squeeze it in your hands. If the mixture becomes too wet, it will continue to react to the moisture and won’t be able to hold itself together. Add the essential oils, and mix well. Separate the mixture into two bowls. Add the food coloring to one bowl and leave the other one white.
Fill the two halves of the bath bomb mold with the mixture, adding small layers of the different colors. Press the mixture into the mold before adding another layer over it. Continue to do this until both halves are full, and twist them together to make them stick. Secure a rubber band around the mold, and let it sit overnight or put it in the freezer for about an hour. To remove, gently twist the mold while pulling the halves apart. If you do it gently, they should pop right out. If they have a hard time coming out, gently tap the bath bomb into your palm to try to loosen it, and try to twist again. Keep repeating these steps until successful.
Notes:
–If the bath bombs don’t stick together, you aren’t using enough witch hazel. While you don’t want to oversaturate them, they won’t stick together if they aren’t wet enough.
–If you place the bath bombs in the freezer rather than letting them dry overnight, they will still be quite soft when you remove them from the molds. This is a method that is best saved for when you are pressed for time.
–Vanilla essential oil has a stronger scent than vanilla extract, but both work well in this recipe.
You might also enjoy:
• Everything you need to know about Lavender Oil.
• 3 Lavender Skin-Care Recipes We Love
• Create Your Own Soothing Mint Lavender Mineral Bath


Give a Gift • Subscribe • Renew
Who We Are
Welcome to flourish, a haven for all things homemade bath and body.
By reading flourish, you’re not just taking care of your skin. You’re discovering the importance of loving your skin, and everything in-between. flourish is more than just a blog. It’s our way of encouraging everyone to thrive in a healthy and vigorous way – to empower wellness in all aspects of your day-to-day life.


