The Art of Candle Making: Your Comprehensive Guide
0 Comments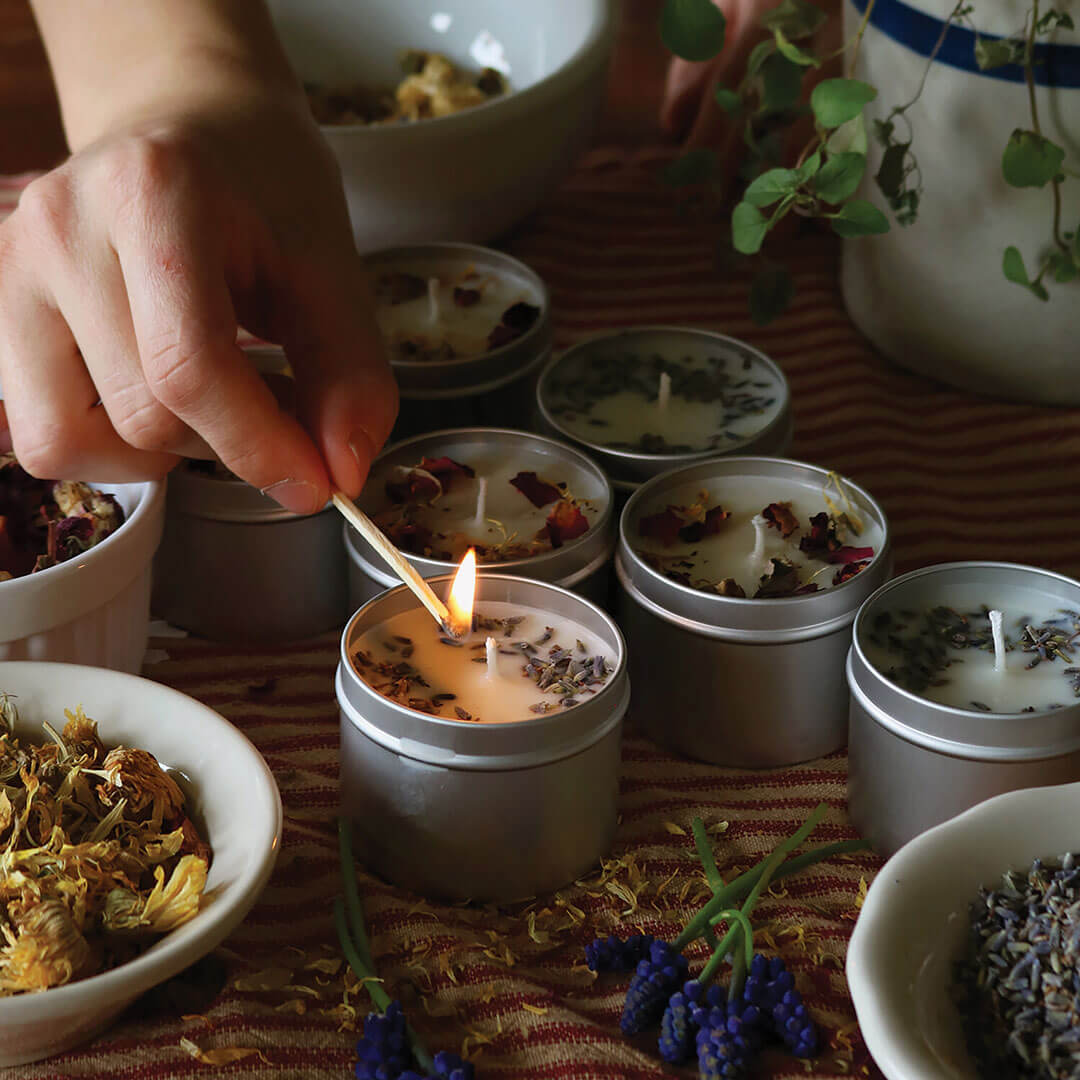
Photo Credit: Kayla Lobermeier
Give someone a candle, and they’ll enjoy the charming ambiance for several days. Teach them how to make candles, and they’ll adorn their space for a lifetime, or so goes a crafty twist on the famous saying. There’s a reason candles are a popular choice for gifts and home decor – they’re coziness creators, relaxation promoters, and mood setters. Learn how to make your own candles in this blog.
Essential Tools and Materials
Wax Selection
Your choice of wax molds your candle’s burn time, scent throw, and texture. That’s why it’s helpful to familiarize yourself with the attributes of different waxes.
- • Paraffin wax is known for its ability to hold fragrance well and its affordability.
- • Soy wax, on the other hand, is eco-friendly and provides a cleaner burn.
- • Beeswax is a natural option with a subtle honey scent, making it a favorite for those who prefer a more organic approach.
- • Gel wax offers transparency and is excellent for embedding decorative elements.
- • Palm wax, derived from palm trees, creates unique crystalline patterns as it cools.
Find more insights on different types of waxes in Willow And Sage The Candle Issue.
Wicks and Wick Holders
Wicks come in various sizes and materials, affecting the flame length and the rate of wax consumption.
- • Cotton wicks are commonly used and are suitable for most candle types.
- • Wooden wicks offer a unique crackling sound when burned, adding an extra sensory element to your candles.
- • Hemp wicks provide a slower burn, making them ideal for larger candles.
Don’t forget to match the wick size to your chosen wax and container size. Additionally, wick holders are essential for keeping the wick centered during the pouring and cooling process, contributing to an even burn and preventing tunneling.
Molds and Containers
The molds or containers you choose determine the shape and size of your candles.
- • Silicone molds allow for intricate candle shapes, as these molds are flexible and easy to release.
- • Metal molds conduct heat well and are durable, resulting in a smooth finish.
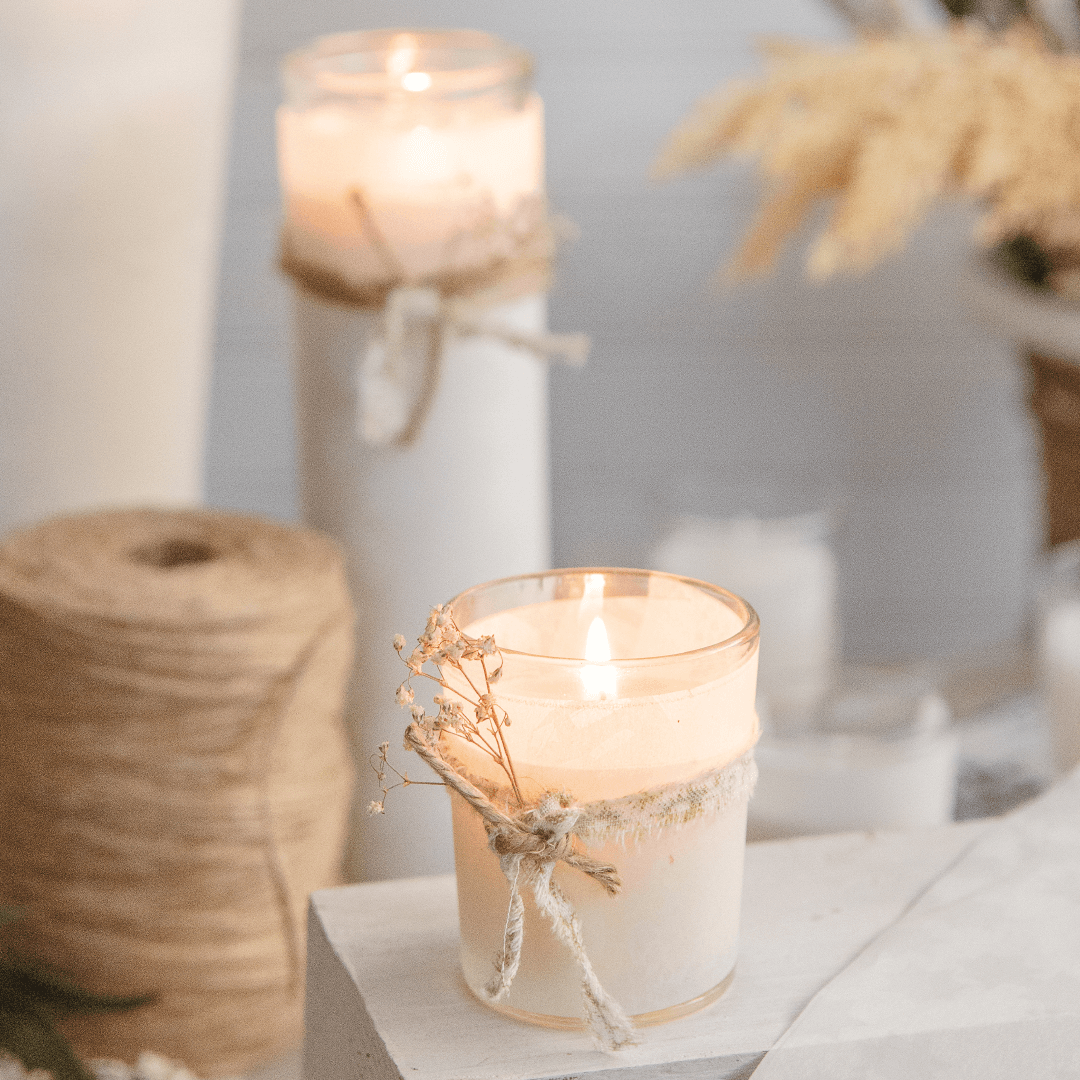
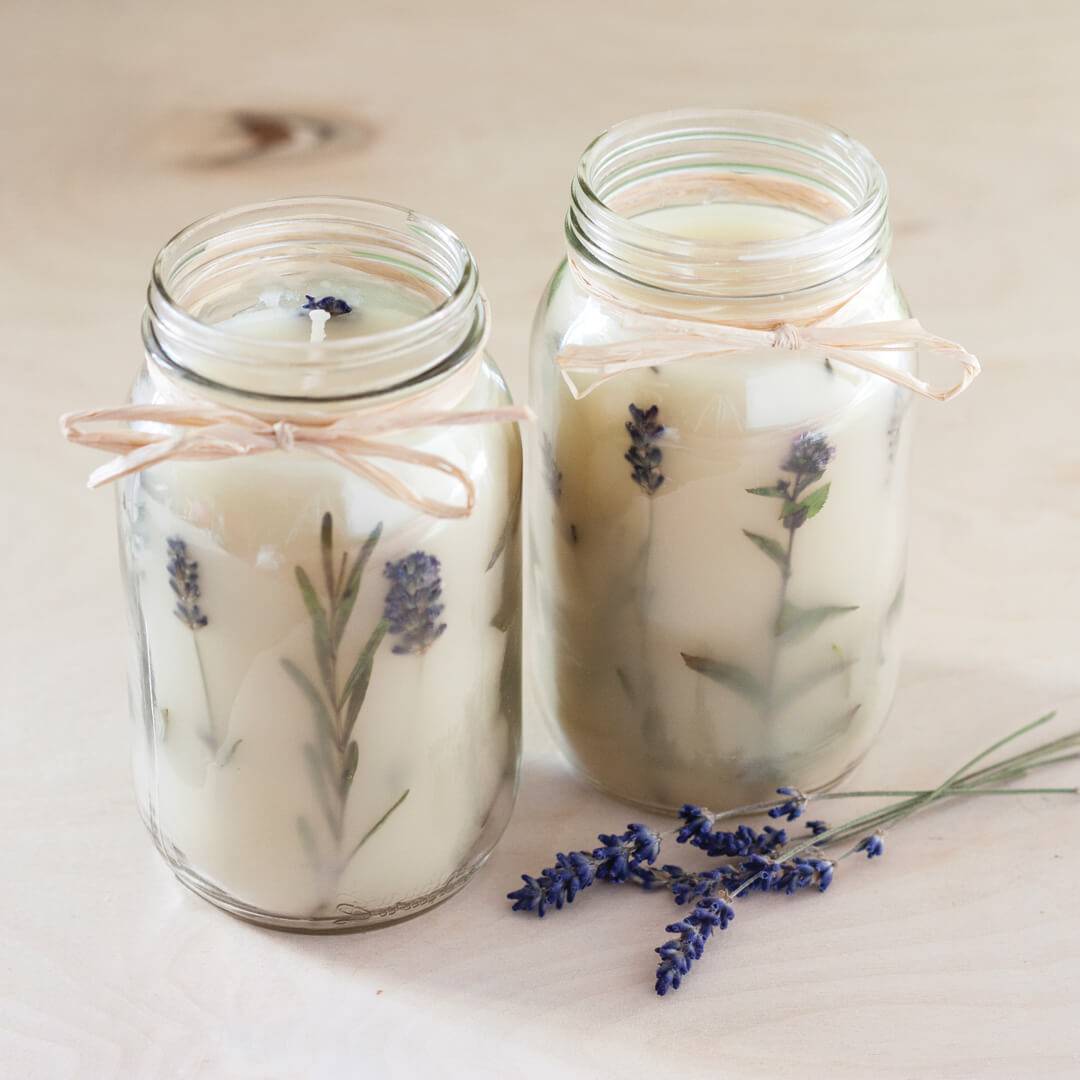
- • Repurposed everyday items like glass jars or vintage teacups add creative flair when used as candle containers.
- • Custom molds expands your design possibilities, enabling you to craft candles in unique shapes and sizes.
Besides proper mold and container selection, knowing how to use mold release agents and prepping strategies ensures successful demolding and beautiful, finished candles.
Techniques for Stunning Designs
Now that you have your tools and materials, let’s dive into the creative aspects of candle making.
Layering and Embedding
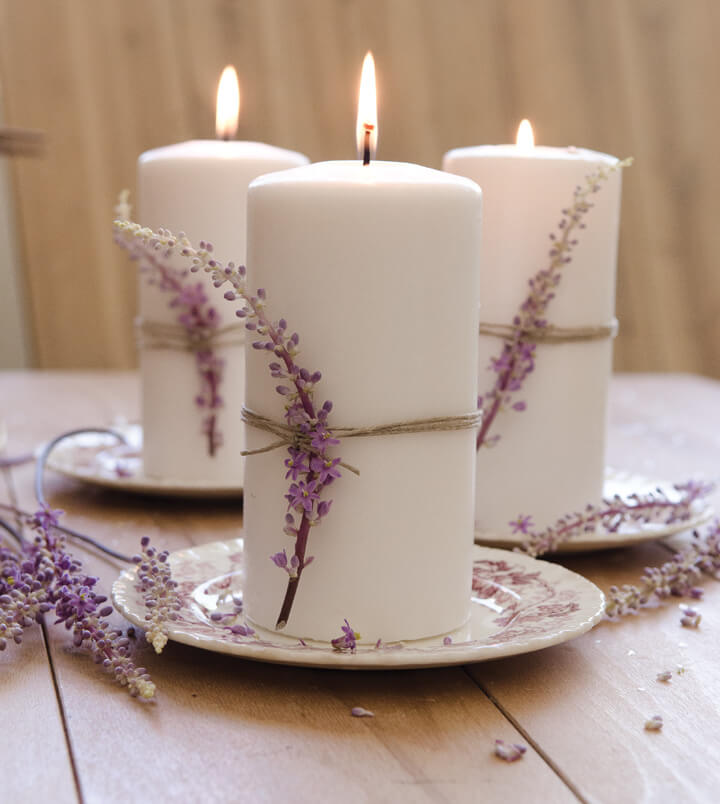
Layering different colored waxes or embedding decorative elements are among the techniques to craft beautiful candles. Embedding allows you to incorporate dried flowers, herbs, or even small trinkets into your candles. Meanwhile, for layered candles, consider using colors that complement each other or tell a story.
To achieve seamless layers and have your embedded items stay perfectly suspended, pour each layer at the right temperature and use adhesion techniques such as gently pressing embedded items into the still-soft wax.
Marbling and Swirling
Marbling and swirling techniques add a touch of elegance to your candles. Begin by melting different colored waxes separately and pouring them into your mold. Use skewers or other tools to swirl the colors together, creating eye-catching patterns. Experiment with complementary or contrasting colors to achieve various effects. Be patient and deliberate in your movements so that the colors blend harmoniously without muddying.
Scenting Your Candles
Aromatherapy enthusiasts or not, adding scents to candles brings joy.
- • Fragrance oils come in a range of scents, from floral to woody.
- • Essential oils, derived from nature’s aromatic extracts, provide a more natural option.
Scents have a flashpoint – the temperature at which a fragrance changes its composition. So, to preserve their integrity, remember to add your chosen scents to the melted wax at the recommended temperature. Also, measure the scents carefully to achieve a balanced fragrance without overpowering the room when the candle burns.
Peek inside The Candle Issue for more on these techniques, plus the lowdown on creating various effects, wicks, scents, and cost-saving tips.
Candle Safety and Care
Safe Candle Making Practices
Working with open flames and hot wax requires adherence to safety guidelines. Wear appropriate protective gear, including safety goggles and gloves, to minimize the risk of burns. In addition, work in a well-ventilated area to disperse fumes and guard against respiratory issues. Following these practices ensures a secure and enjoyable candle-making experience, allowing you to focus on the creative process without compromising safety.
Candle Burning Tips
Your candle-making journey doesn’t end when you finish making the candles. There are burning techniques to maintain the integrity of your candles.
- • During the initial burn, let the candle melt to the edges of the container to avoid tunneling.
- • To minimize excessive soot and smoke, trim the wick to the recommended length before each use.
- • Rotate candles periodically to ensure even burning.
These tips will help you get the most out of your handmade candles.
Storage and Preservation
Maintaining the quality of your candles over time requires proper storage. Keep candles away from extreme temperatures and direct sunlight to prevent warping, scent deterioration, and color fading. Store candles in a cool, dark place, ideally in a box, to protect them from dust.
If gifting or displaying your candles, consider placing them in individual bags to protect against scratching. Following these storage tips helps keep your candles as beautiful as the day you made them.
Troubleshooting Common Issues
Preventing Air Bubbles
Air bubbles can mar the appearance of your candles. To minimize these imperfections, maintain the wax at the appropriate temperature and avoid rapid cooling. Gently stir in colorants and fragrances, ensuring a smooth blend without introducing air.
When pouring, pour slowly and steadily from a moderate height, allowing the wax to fill the mold evenly. Afterward, tap the mold to release any trapped air, and consider using a heat gun to eliminate surface bubbles.
Dealing with Frosting
Frosting, the crystalline appearance on candle surfaces, is a common occurrence, especially in waxes like soy wax. Some embrace it as part of the natural beauty. But for those seeking a smoother finish, controlling the cooling environment and experimenting with pouring temperatures can reduce frosting. Additives like Vybar or Stearin alter wax crystalline structures, while a heat gun can smooth out frosting after cooling.
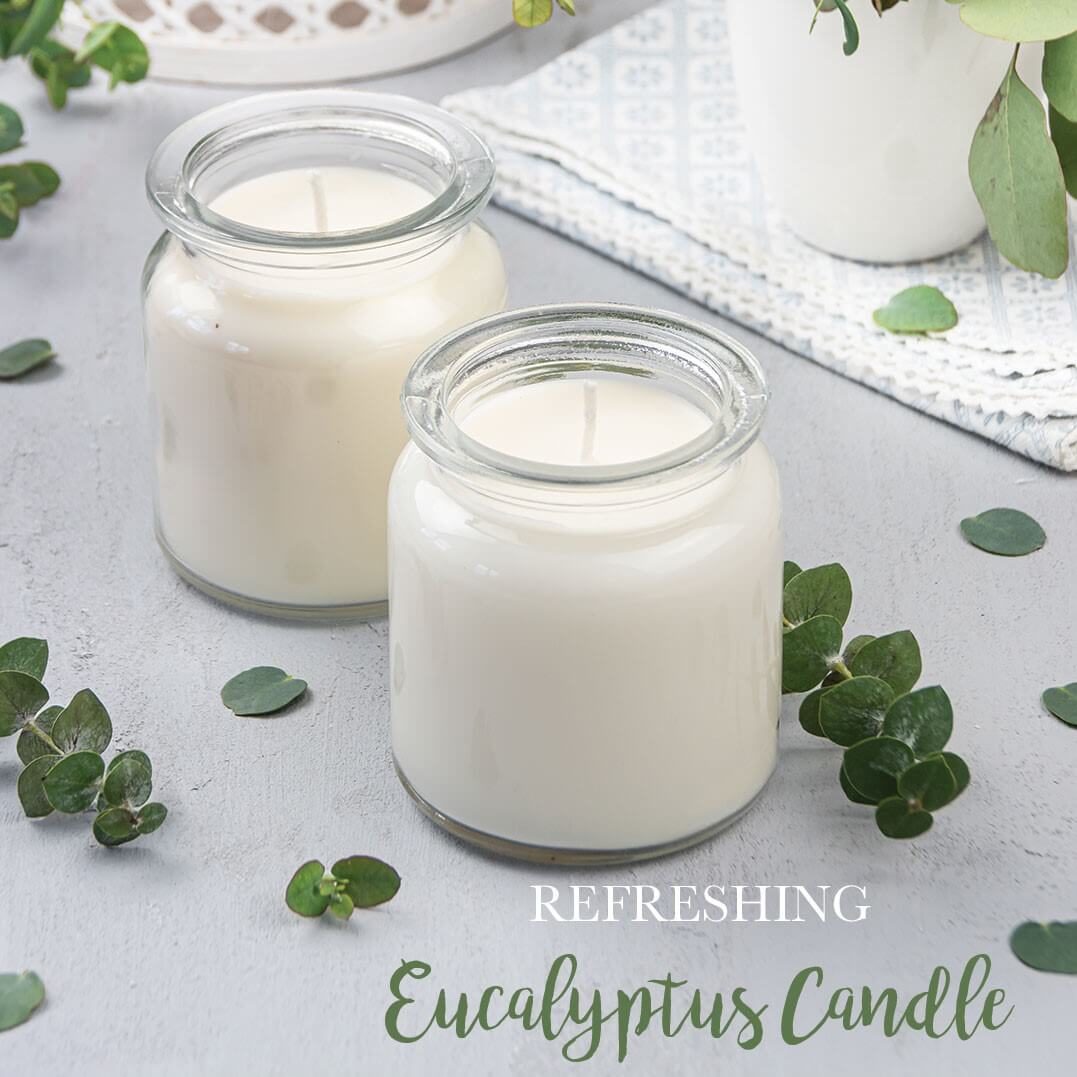
Refreshing Eucalyptus Candle Recipe
by Irena Saro and Cyna Riley-Rank from The Candle Issue Volume 3
You Will Need
- • Hot glue/Glue dots
- • Wick w/ tab
- • Jar: heat-proof, 8-oz.
- • Wick-centering tool/Skewer
- • 8 oz. soy wax flakes
- • Wax-melting pitcher
- • Saucepan
- • Infrared thermometer
- • Stirrer
- • 100 drops eucalyptus essential oil Scissors
To Make
Apply hot glue or a glue dot to the wick tab and press it firmly to the bottom of the jar, making sure to place the wick in the center. Place the top of the wick in a wick-centering tool or roll it around a skewer to hold, and let it rest across the jar’s opening. Add the soy wax flakes to a wax-melting pitcher. Then, melt the wax using the double-boiler method until completely liquid.
Remove it from the water bath, and let it cool to 120 degrees Fahrenheit for about three to five minutes. Add the eucalyptus essential oil and stir slowly to combine. Pour the melted soy wax into the jar, leaving ½ inch at the top so the wick isn’t covered. Let the candles cure at room temperature for at least 24 hours, and the wax turns from clear to white. After the candle has fully cured, trim the excess wick, leaving about ¾ inch.
Want more candle recipes? Check out Willow And Sage The Candle Issue, filled with DIY candle projects with step-by-step instructions and detailed photos.


Give a Gift • Subscribe • Renew
Who We Are
Welcome to flourish, a haven for all things homemade bath and body.
By reading flourish, you’re not just taking care of your skin. You’re discovering the importance of loving your skin, and everything in-between. flourish is more than just a blog. It’s our way of encouraging everyone to thrive in a healthy and vigorous way – to empower wellness in all aspects of your day-to-day life.


